Hey there, Motion newbies! Welcome back to Apple Motion Time. Today’s class is all about keyframing, a superpower for making things move in your projects. Never heard of keyframes? No sweat! We’ll break down what they are, how to use them, and when they come in handy. Plus, we’ll even explore some cool tricks like ease in and ease out to make your animations super smooth!
What is a Keyframe?
In simple terms, a keyframe consists of a start point and endpoint of a movement. Let’s take a look at the clip below to understand keyframes better.
The start point of our circle shows it is on the left side of our composition area. On the 3 second mark, you can see it is on the right side now, which is its end point.
Here is a screenshot of our simple animation.
Now that we know what a keyframe is, let’s talk about how to create a keyframe in Apple Motion.
How to create a keyframe
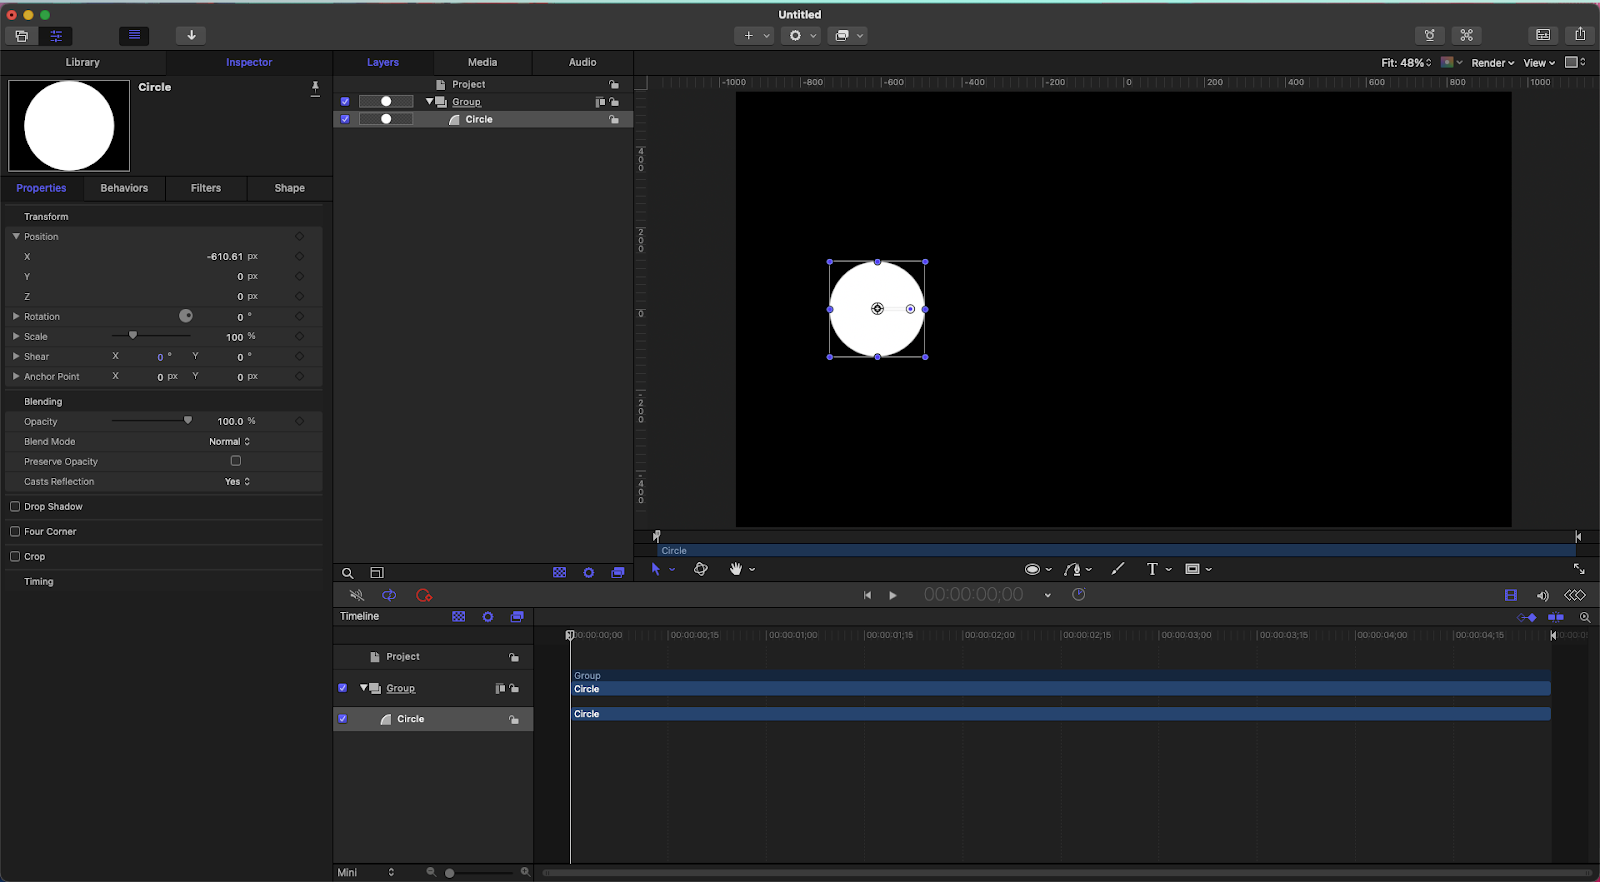
Let us first create a simple shape for our composition.
Here I created a circle with a x position: -610.61.
To create a keyframe in Apple Motion, you need to click the diamond that is beside a parameter.
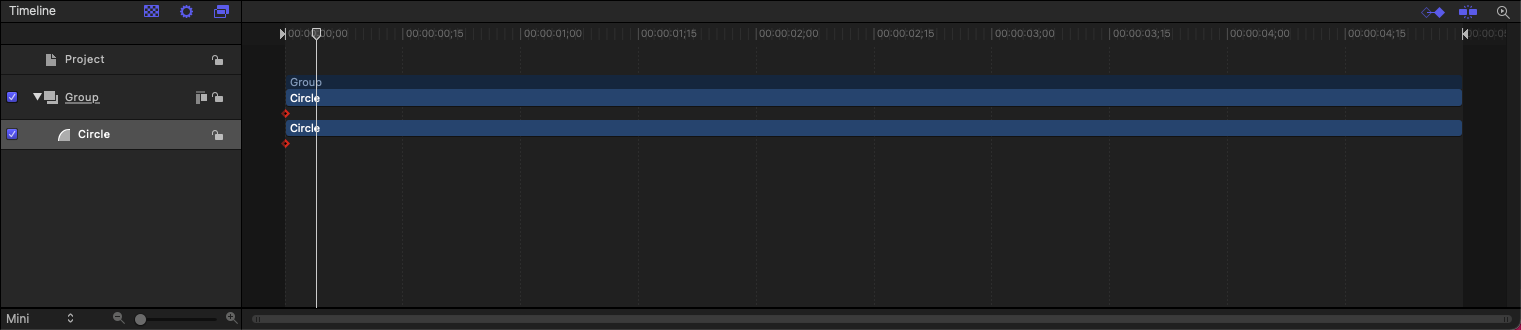
Once you successfully add a keyframe, your parameter will turn to red and the keyframe icon will become yellow. Additionally, you will see a red diamond in your timeline. This first keyframe is our starting position.
If the red icon does not appear on your timeline, click the icon beside the filmstrip icon (left side) to make the keyframe icon appear.
In our example I created a keyframe at the start of the composition. You can create a keyframe anywhere in the timeline. At the 3 second mark, I will add another keyframe and change my x position values. My composition will look similar below.
If you go to the first frame and press spacebar, you will see that you have successfully animated your shape or layer.
*Try for yourself by adding keyframes on the different parameters inside the transform tab.
When to use a keyframe?
The secret sauce of animation? Keyframes! They’re the building blocks that bring everything to life. While you can keyframe practically anything, behaviors offer a helping hand for specific tasks. But the real magic happens when you combine them! Need to animate a swarm of butterflies? Keyframes and behaviors working together make it a breeze!
Ease in and Ease Out
When we create keyframes, most of the time the interpolation of the animation is linear.
As you can see, the ball’s movement is like a robot, not a bouncy ball. In real life balls gain momentum as they roll.
Now let us look at this example,
The circle on the left goes down in a linear way while the ball on the right has some acceleration and deceleration.
In order for us to have an ease in and ease out on our keyframes, we need to do a few things. Select your layer > click the show keyframe editor > select your keyframes > right click on a keyframe > select ease both. Press spacebar to play.
Wow, check out the transformation! Just by tweaking the keyframe interpolation, we went from linear animation to a smooth ease in and ease out animation. That’s the magic of keyframing – subtle adjustments can create totally different effects!
Final Thoughts
Learning about keyframes in Apple Motion was definitely an eye-opener! At first, I was a bit confused and accidentally set my endpoint as the starting point. No wonder my animation wasn’t what I envisioned! Now that I understand keyframes better, I’m excited to see what kind of cool animations I can create.
Ready to put your newfound keyframing skills to the test? Try animating different aspects of your layers, like scaling them up and down, rotating them for a spin, or fading their opacity in and out. You’ll be surprised at how quickly you grasp this powerful animation technique!